Last Updated on January 27, 2024 by Timothy Byron Smith
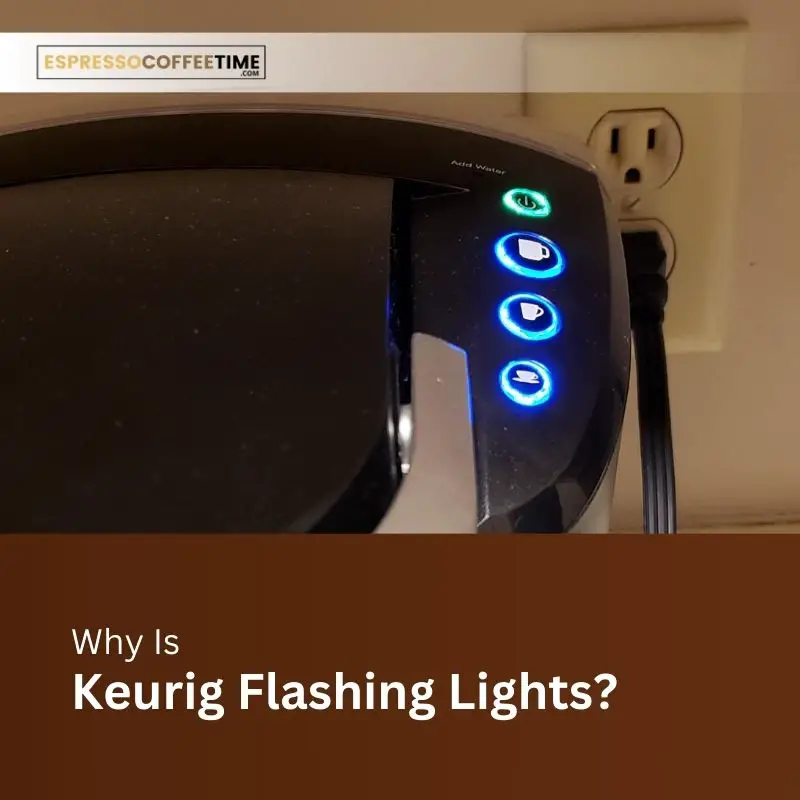
Keurig coffee makers have become a staple in many households, providing convenience and a quick way to enjoy a cup of coffee. However, there may be instances when your Keurig starts flashing lights, leaving you puzzled about the meaning behind these signals.
In this article, we will delve into the ten most common problems associated with Keurig flashing or blinking light issues. So that you can troubleshoot the Keurig Flashing Lights problem.
Drawing from personal experience and extensive research, here we aim to assist Keurig users in understanding the significance of different blinking lights and empower them to fix these problems themselves.
Read More: Why Is Your Keurig Dripping Slowly
Why Is Keurig Flashing Lights
In this guide on Keurig flashing lights! we will explore why your Keurig machine is displaying those frustrating blinking lights, here are 1o potential reasons behind Keurig flashing lights and some practical solutions to resolve any issues you may encounter.
So, let’s dive in and shed some light on the mystery of Keurig flashing lights!
1. Descale Light: Cleaning Reminder
One of the most common reasons for Keurig flashing lights is the descale light. This indicator serves as a reminder that your Keurig machine needs to be cleaned to remove mineral deposits that can affect the taste and performance of your coffee. Descaling is recommended every three to six months, depending on the frequency of use.
To descale your Keurig, follow these steps:
- Prepare a descaling solution by mixing it with water according to the manufacturer’s instructions.
- Empty the water reservoir and pour the descaling solution into it.
- Place a large ceramic mug on the drip tray.
- Start the brew cycle without inserting a K-Cup, selecting the largest cup size.
- Discard the hot solution in the mug and repeat the brew cycle until “Add Water” is displayed.
- Rinse the water reservoir thoroughly and refill it with clean water.
- Repeat the brew cycle without a K-Cup to flush out any remaining descaling solution.
By descaling your Keurig regularly, you can prevent clogs and maintain the optimal performance of your coffee machine.
2. Add Water Light: Water Tank Issues
If your Keurig is flashing the “Add Water” light, it indicates a problem with the water tank. The light serves as a reminder to fill the tank to the appropriate level for brewing. However, sometimes the light may persist even when the water tank is adequately filled.
Here’s what you can do to troubleshoot this issue:
- Check for any debris or dirt that might be obstructing the water tank’s sensors. Clean the area thoroughly to ensure proper functionality.
- Verify that the water tank is correctly positioned and securely seated on the brewer. Misalignment can trigger the “Add Water” light.
- If the above steps do not resolve the issue, inspect the water outlet needle for any clogs. Use a paper clip or a small needle to clear any blockage that may be preventing water flow.
By addressing these water tank-related issues, you can ensure uninterrupted brewing with your Keurig machine.
3. All Lights On: Outlet Needle and Carbon Filter Problems
When all the lights on your Keurig machine are flashing simultaneously, it indicates potential issues with the outlet needle or the carbon filter.
Follow these troubleshooting steps to address these problems:
- Begin by cleaning the outlet needle. Start by removing the K-Cup holder and inspecting the needle for any clogs or buildup. Use a paper clip or a small needle to gently clear any blockage. Ensure the needle is free from any debris before reassembling the K-Cup holder.
- If the problem persists, check the carbon filter. Remove the water reservoir and locate the carbon filter at the bottom. Remove the filter and rinse it under running water for a few seconds. Reinsert the filter and ensure it is properly positioned.
Thoroughly cleaning the outlet needle and checking the carbon filter can resolve the “All Lights On” issue and restore normal operation to your Keurig.
4. Blue Light Flashing: Low or Empty Water Tank
A flashing blue light on your Keurig indicates a low or empty water tank. This light serves as a reminder to refill the water reservoir to ensure uninterrupted brewing.
To resolve this issue, simply fill the water tank with fresh water to the appropriate level. However, if the blue light continues to flash even after refilling the tank, try the following additional step:
- Unplug the Keurig machine from the power source and wait for a few minutes.
- Plug the machine back in and observe if the blue light continues to flash.
- If the light persists, try performing a reset by turning off the machine and then turning it back on.
By refilling the water tank and following the reset procedure, you can eliminate the blue light and resume brewing your favorite beverages.
5. Frother Light Flashing: Milk Frother Troubles
For Keurig models equipped with a milk frother, a flashing frother light indicates a problem with the frothing process.
To troubleshoot this issue and enjoy perfectly frothed milk in your beverages, follow these steps:
- Ensure that the frother is correctly positioned on the machine and securely attached.
- Verify that there is enough milk in the frother for the desired amount of frothing.
- If the light continues to flash, remove the frother and clean it thoroughly.
- Pay close attention to the frothing tube, as it can easily become clogged with dried milk residue.
By following these troubleshooting steps, you can address frother-related issues and enjoy deliciously frothed milk with your Keurig.
6. Brew Button Blinking: Heating and Brewing Process
The brew button on your Keurig machine blinks during the heating process and remains steady during brewing. However, if it blinks continuously, it may indicate issues that require attention.
Here’s what you can do to troubleshoot the blinking brew button:
- Check for any debris or residue on the distribution line. Clean the line using a paper clip or a small needle to ensure unobstructed water flow.
- Verify that the K-Cup is properly positioned in the holder. Ensure that it is seated correctly and not causing any blockage.
- If the issue persists, try using a different K-Cup to eliminate the possibility of a faulty pod.
By cleaning the distribution line and ensuring proper placement of the K-Cup, you can resolve the blinking brew button issue and enjoy uninterrupted brewing.
7. Power Button and Clock Light Blinking: Internal Errors
If the power button and clock light on your Keurig machine are blinking, it indicates internal errors that require troubleshooting.
Follow these initial steps to address this issue:
- Power off the Keurig machine by pressing the power button.
- Unplug the machine from the power source and wait for a few minutes.
- Reconnect the machine to the power source and power it back on.
If the blinking lights persist, you may need to perform a factory reset on your Keurig machine. The exact steps for a factory reset can vary depending on the model, so refer to the user manual or contact Keurig customer service for detailed instructions.
8. Red Light Flashing: Reusable K-Cup Issues
For Keurig models that use reusable K-Cups, a flashing red light indicates a problem related to overpacking or blockage. Follow these recommendations to address this issue:
- Avoid overfilling the reusable K-Cup with coffee grounds. Stick to the marked fill level to prevent blockage and ensure optimal brewing.
- If you notice a flashing red light, remove the reusable K-Cup and check for any blockage. Clean the K-Cup and ensure it is not overpacked with coffee grounds.
By adhering to the recommended fill level and properly maintaining the reusable K-Cup, you can prevent blockage and eliminate the red light flashing issue.
9. Add Water, Heating, and the Smallest Cup Size Lights Flashing: Priming the Brewer
When the “Add Water,” “Heating,” and the smallest cup size lights are flashing simultaneously, it indicates the need to prime your Keurig brewer. Priming ensures proper functioning and optimal brewing. Follow these steps to prime your Keurig:
- Begin by cleaning the water tank and needles. Remove the water tank and wash it thoroughly. Use a paper clip or a small needle to clear any debris from the needles.
- If necessary, perform a full descale to remove mineral deposits. Follow the descaling instructions provided by Keurig for your specific model.
- Once the water tank and needles are clean, fill the tank with fresh water to the appropriate level.
- Place a large ceramic mug on the drip tray and initiate a brew cycle without inserting a K-Cup. Select the smallest cup size and allow the machine to complete the cycle.
By priming your Keurig brewer, you can ensure optimal performance and resolve the issue indicated by the flashing lights.
10. The Descale Light Remains on After Descaling: Troubleshooting Persistent Light
If the descale light on your Keurig remains on even after completing the descaling cycle, follow these troubleshooting steps:
- Remove the K-Cup from the holder and run a brew cycle using only water. This will help rinse out any remaining descaling solution and clear the light.
- If the descale light persists, repeat the descaling process. Ensure that you follow the instructions carefully and thoroughly rinse the machine after descaling.
By running a water brew cycle and repeating the descaling process, you can resolve the persistent descale light issue and maintain the optimal performance of your Keurig.
How to use the Keurig Coffee Maker correctly?
Keurig takes pride in being a super easy coffee machine that’s great for everyone. It’s true, Keurigs are one of the easiest coffee makers out there, but like anything new, there might be a bit of a learning curve at first.
- Make sure the Keurig pod isn’t full: Before brewing, ensure your Keurig pod isn’t already full to avoid any unexpected spills or messes.
- Make sure the coffee is adequately grounded: Check that your coffee is ground just right before brewing to ensure a delicious cup without any brewing hiccups.
- Utilize the smallest cup setting on the machine: For a perfect brew, choose the smallest cup setting on your machine when making your coffee.
FAQ About Keurig Flashing Lights
How do you Reset a Keurig for solving the flashing problem?
To reset a Keurig, follow these steps; first, turn off the machine and unplug it from the power source, then wait for a few minutes, plug the Keurig back in, and turn it on.
How to clear a blocked Keurig?
To clear a blocked Keurig, try the following; start with Removing the K-Cup holder and inspect the needle for any clogs, then use a paper clip or a small needle to clear any blockage, and, clean the K-Cup holder and reassemble it.
How to force drain a Keurig?
To force drain a Keurig, follow these steps; firstly unplug the machine and remove the water reservoir, turn the Keurig upside down over a sink to drain any water, shake the machine gently to remove any excess water, and lastly reassemble the Keurig and plug it back in.
Summing Up!
Keurig flashing lights can be puzzling, but with the information and solutions provided in this article, you can confidently tackle these issues. We have covered ten common problems associated with Keurig flashing lights and provided step-by-step solutions for each one.
By understanding the meaning behind different blinking lights and following the troubleshooting steps, you can resolve the issues yourself and enjoy uninterrupted brewing with your Keurig machine.
Remember, if you encounter any difficulties, don’t hesitate to reach out to Keurig’s customer service for further assistance. Cheers to a delightful and hassle-free coffee experience with your Keurig!
