Last Updated on July 16, 2023 by Timothy Byron Smith
If you’re a coffee enthusiast looking for a convenient and hassle-free brewing experience. The Keurig Mini is designed to deliver a perfect cup of coffee every time, and in this step-by-step guide, we’ll walk you through the process of how to use Keurig Mini; setting up, brewing, and maintaining this coffee maker.
The Keurig Mini is a compact and user-friendly coffee maker that brings the joy of single-serve brewing right into your kitchen. Whether you’re a busy professional, a student, or simply someone who enjoys a quick and delicious cup of coffee.
This guide will provide you with all the information you need to use and care for your Keurig Mini.
Read More: How to Reset Keurig Coffee Makers
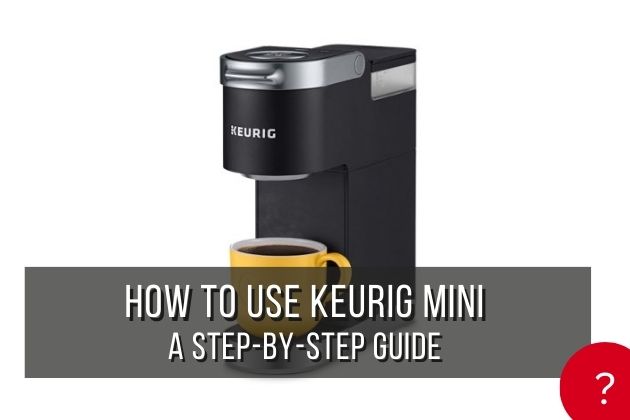
How To Use Keurig Mini?
Want to know how to use Keurig Mini coffee maker effectively? Fear not, as this guide will provide you with simple yet comprehensive instructions on using your Keurig Mini to brew the perfect cup of coffee every time, making your mornings more delightful and hassle-free.
1. Keurig Mini Set up
To begin, unbox your Keurig K-Mini and find a suitable location in your kitchen near a power outlet. The machine’s compact size makes it easy to fit into any space. Once you’ve found the perfect spot, locate the cord storage at the back of the machine and plug in the cord.
This will ensure a safe and organized setup. The power button is conveniently located on the top right of the machine for easy access.
2. Keurig Water Tank Setup
It’s important to note that there are two versions of the Keurig Mini: the K-Mini and the K-Mini Plus. The K-Mini coffee maker does not have a removable water tank, while the K-Mini Plus does.
Depending on the version you have, follow the appropriate instructions for setting up the water tank.
To determine the amount of water needed, fill the mug you plan to use with water. Pour the water into the water tank at the back of the machine, being careful not to exceed the 10 oz limit. It’s recommended to use tap, bottled, or filtered water for the best brewing results.
However, it’s important to avoid using distilled water as it lacks minerals, which can cause damage to the machine over time. Remember, using anything other than water in your Keurig Mini, such as milk or other liquids, can result in permanent damage.
3. Cleansing Brew
Before enjoying your first cup of coffee, it’s essential to run a cleansing brew to clean the machine and ensure optimal performance. Fill the machine with 10 oz of water, press the power button on the top of the machine to turn it on, and lift and close the latch without inserting a pod.
Press the brew button to start the cleansing brew process. This process should be repeated every month or so to keep the machine clean and maintain the flavor of your coffee.
4. Choosing the Perfect K-Cup
One of the advantages of using a Keurig Mini is the wide variety of K-Cup options available. Keurig offers a range of coffee flavors, and you can also explore other popular brands like Green Mountain or Starbucks.
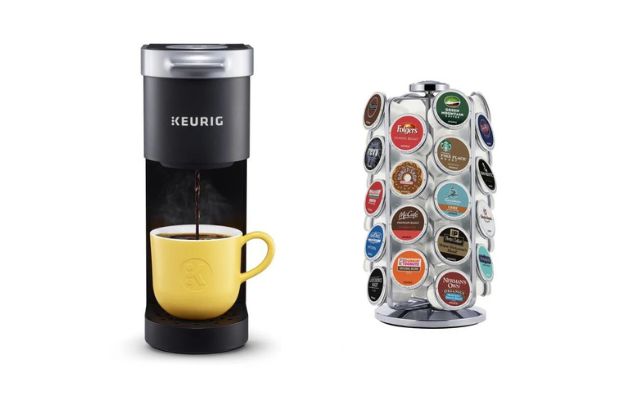
If you prefer to use your coffee, reusable K-Cups are also available. Just make sure not to remove the foil from the top of the K-Cup before brewing, as it can lead to damage and compromise the quality of your coffee.
5. Brewing with the Keurig Mini
Follow these simple steps to brew your first cup of coffee with your Keurig Mini:
- Fill your mug with water (not distilled) and pour it into the water tank at the back of the machine.
- Place the mug on the drip tray under the coffee spout at the front of the machine.
- Lift the handle to open the pod container, insert your chosen K-Cup, and close the latch firmly.
- Press the power button on top of the machine to start the brewing process.
- Wait for the light to pulse, indicating the machine is warming up.
- Once the light turns solid, the brewing process will begin (usually after approximately 2 minutes).
- Sit back and enjoy the aromatic experience as your coffee is brewed.
- The light will turn off when brewing is complete.
- Lift the handle to open the pod container, remove the used K-Cup, and keep the lid open to let the container dry.
- The Keurig Mini will automatically turn off 90 seconds after brewing, ensuring energy efficiency.
6. Special Feature: K-Mini Plus
If you have the K-Mini Plus version, you have an additional feature to enhance your coffee experience. The K-Mini Plus offers a “Strong” button that can be pressed at the beginning of the brew.
This option is perfect for those who prefer a bolder and more robust cup of coffee. Simply press the “Strong” button before starting the brewing process to enjoy a stronger flavor profile.
7. Cleaning and Descaling Your Keurig Mini
Regular cleaning and descaling are crucial for maintaining the performance and longevity of your Keurig Mini.
To keep your machine in top shape, follow these cleaning and descaling steps:
- Turn off the machine and remove the drip tray. If you have the K-Mini Plus, also clean the water tank.
- Wipe down the exterior surfaces of the brewer with a damp cloth.
- Run 2-3 cleansing cycles to clean the internal components of the machine.
- Descaling should be done every 3-6 months using a descaling solution, preferably one provided by Keurig.
- Mix one part water with one part descaling solution and run a brew cycle without a pod.
- Repeat the brew cycle 2-3 times to ensure there is no descaling solution residue left in the machine.
- For more specific instructions on special functions and maintenance, refer to the owner’s manual provided with your Keurig Mini.
8. Proper Storage and Maintenance
To keep your Keurig Mini in optimal condition between uses, follow these storage and maintenance practices:
- Turn off and unplug your Keurig Mini when not in use.
- Store the cord in the cord storage at the back of the machine to keep it organized.
- Always empty the water tank to prevent any potential water buildup.
- Store your Keurig Mini in a frost-free environment, away from extreme temperatures.
Troubleshooting Common Issues with Keurig Mini
Despite its user-friendly design, you may encounter some common issues with your Keurig Mini. Here are three frequently asked questions related to troubleshooting:
What should I do if my Keurig Mini is not turning on?
Ensure that the machine is properly plugged into a functioning power outlet. Check the power button and make sure it’s in the “on” position. If the problem persists, consult the owner’s manual or contact Keurig customer support for further assistance.
Why is water leaking from my Keurig Mini?
Check the water tank to ensure it is properly seated and not overfilled. Verify that the K-Cup is correctly inserted, and the pod container is closed tightly. If the issue continues, inspect the machine for any signs of damage or cracks and seek assistance from Keurig support if needed.
My coffee tastes weak. What could be the problem?
Ensure that you are using the recommended amount of water and the appropriate coffee-to-water ratio. Check that the K-Cup is inserted correctly and not damaged. Consider using the “Strong” button on the K-Mini Plus version for a bolder flavor.
Summing Up! How to Use Keurig Mini
You now have all the knowledge and guidance necessary to make the most of your Keurig K-Mini coffee maker. With its user-friendly features and convenience, brewing a perfect cup of coffee has never been easier.
By following the step-by-step instructions provided in this guide, you’ll be able to enjoy your favorite coffee flavors with minimal effort.
Remember to consult the owner’s manual for any specific instructions or functions unique to your Keurig Mini. In case of further guidance about how to use Keurig Mini coffee maker visit official customer support.
It’s time to savor the delightful experience of brewing coffee with your Keurig Mini and enjoy every sip!
