Last Updated on January 21, 2024 by Timothy Byron Smith
Owning a Breville Barista Pro is a delightful experience until you encounter issues with the flushing process. Fear not! In this guide, we’ll walk you through troubleshooting tips and step-by-step instructions to ensure your Breville Barista Pro is back to making that perfect cup of coffee.
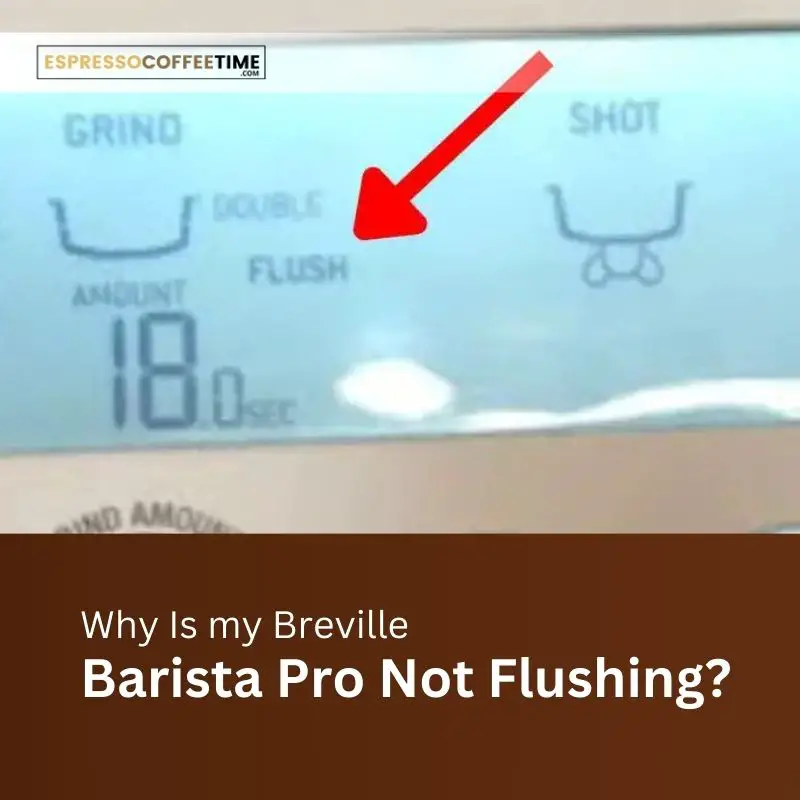
Before diving into troubleshooting, let’s grasp the importance of flushing. Backflushing is the process of removing build-up in espresso machines, ensuring optimal functionality. Your Barista Pro signals the need for a flush by displaying “FLUSH” on the LCD screen.
Breville Barista Pro Not Flushing: Possible Reasons & Solutions
1.Breville’s Flushing Function Not Working
If your Breville’s flushing function is acting up, try this unique troubleshooting tip, considering the water temperature. Sometimes, if it’s too cold, the machine might struggle to flush properly.
Ensure optimal flushing by adjusting the water temperature for a consistently excellent Breville espresso experience.
2. No Water Coming Out of the Portafilter – Is It Normal?
During the flush cleaning cycle, it’s normal for no water to come out of the portafilter. The cleaning disc blocks it, pushing water with dissolved tablets back into the machine, cleaning the inner parts. However, in older models, some water might emerge due to a hole in the cleaning disc.
Tip: Consider using the updated disc without a hole for better cleaning.
3. First Use Cycle Not Working – Initial Flush Troubleshooting
If the initial flush stops prematurely, it’s likely due to air bubbles in the water filter. Here’s a quick fix:
- Remove the water tank and fill it to the max line.
- Unplug the water filter, turn it upside down, and shake to release bubbles.
- Keep the filter submerged, lock it back into the tank, and perform the initial flush.
If the issue persists, remove the water filter and try again.
How To Flush A Breville Barista Pro
Now, let’s get into the nitty-gritty of flushing your Barista Pro.
- Insert the cleaning disc into the filter basket in the portafilter.
- Place a cleaning tablet on top of the cleaning disc.
- Lock the portafilter into the group head.
- Empty the drip tray and reattach it to the machine.
- Fill the water tank to the MAX line and reattach it.
- Press the MENU button to enter the main menu.
- Use the GRIND AMOUNT dial to navigate to FLUSH.
- Press to select, and the 1 CUP button will illuminate.
- Press the 1 CUP button to start the cleaning cycle.
- The LCD will display the remaining time for the cleaning cycle.
- Once the cycle is done, the machine will beep and return to READY mode.
- If any cleaning tablet remains in the disc, repeat the cycle.
- Empty and rinse the portafilter, cleaning disc, and drip tray.
FAQs: Breville Barista Pro Not Flushing
Q1: How often should you flush a Breville Barista Pro?
Flush the machine every time the FLUSH alert appears, which is approximately every 4-6 weeks based on regular use.
Q2: How do I factory reset my barista pro?
To perform a factory reset on your Barista Pro, press and hold the “Program” button for about 5 seconds, and then follow the on-screen instructions provided in your user manual or the machine’s display.
Q3: Why is my Breville not brewing?
If your Breville isn’t brewing, it might need descaling to remove mineral build-up or a check to ensure the coffee grounds aren’t too fine and the filter isn’t clogged. Regular maintenance is crucial for optimal performance.
Q4: How do I increase the pressure on my Breville coffee maker?
For enhanced pressure on your Breville coffee maker, use finer grounds, tamp firmly, and savor the journey of crafting your coffee.
Q5: How do you fix low pressure on Breville?
When tackling low pressure on your beloved Breville, treat it like a trusted friend. Begin with a thorough cleaning and descaling to clear any blockages, allowing for a smoother coffee flow. By investing care and attention, you’ll revive your coffee maker for a more enjoyable brewing experience.
Conclusion
In conclusion, maintaining your Breville Barista Pro’s flushing functionality is key to ensuring a consistently excellent coffee experience. Understanding the nuances of the flush cleaning cycle, addressing common issues like water not coming out of the portafilter, and troubleshooting the initial flush are vital steps in keeping your espresso machine in top condition.
e step-by-step guide provided offers practical insights into flushing your Barista Pro efficiently. Remember, the frequency of the flush depends on your machine usage, so stay attentive to the “FLUSH” alert. With these tips, you’ll not only troubleshoot effectively but also contribute to the longevity and optimal performance of your beloved Breville Barista Pro. Happy brewing!
Also Read:
