Last Updated on November 25, 2023 by Timothy Byron Smith
Are you facing the notorious Keurig slow drip issue? Just picture the disappointment as your Keurig dispenses coffee at a snail’s pace, causing slow brewing or even resulting in just a half-cup brew. These problems are often caused by clogged water lines or a troublesome needle clog, leaving you in need of descale instructions or guidance on needle cleaning.
Do not fret, as your morning coffee routine doesn’t have to suffer from a Keurig not dispensing water scenario. Resolve these setbacks with our comprehensive guide, offering troubleshooting slow brew strategies and descaling tips. Explore methods for water line unclogging and nozzle cleaning, addressing the pesky slow coffee flow effectively.
From fixing slow drip techniques to understanding water pump issues, regain control over your coffee experience as we dive into our step-by-step instructions and learn the reset process, ensuring your beloved Keurig operates flawlessly once more.
Related: Keurig Cup Sizes Explained
Maintenance For Optimal Performance!
Before diving into troubleshooting, let’s emphasize the critical role of regular maintenance in ensuring your Keurig’s top-notch performance. Routine care keeps your machine in prime condition, guaranteeing consistent coffee satisfaction.
-
Daily Cleaning: Quickly wipe down your Keurig after each use. To get rid of any coffee grinds or debris, clean the drip tray and rinse the K-cup holder.
-
Weekly Descaling: Adjust the weekly descaling treatment for your Keurig based on the hardness of your water. This keeps the water flowing smoothly and helps get rid of calcium buildup.
-
Monthly Deep Cleaning: Make sure to thoroughly clean your Keurig once a month. This covers the exit spout, water reservoir, and needle.
Solutions to Keurig Slow Drip:
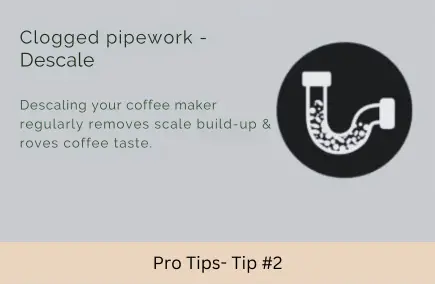
Solution 1: Descaling – The Ultimate Solution
Combat Keurig slow brewing by descaling your machine. Follow precise Keurig descale instructions below to eliminate Keurig slow drip problems caused by mineral buildup.
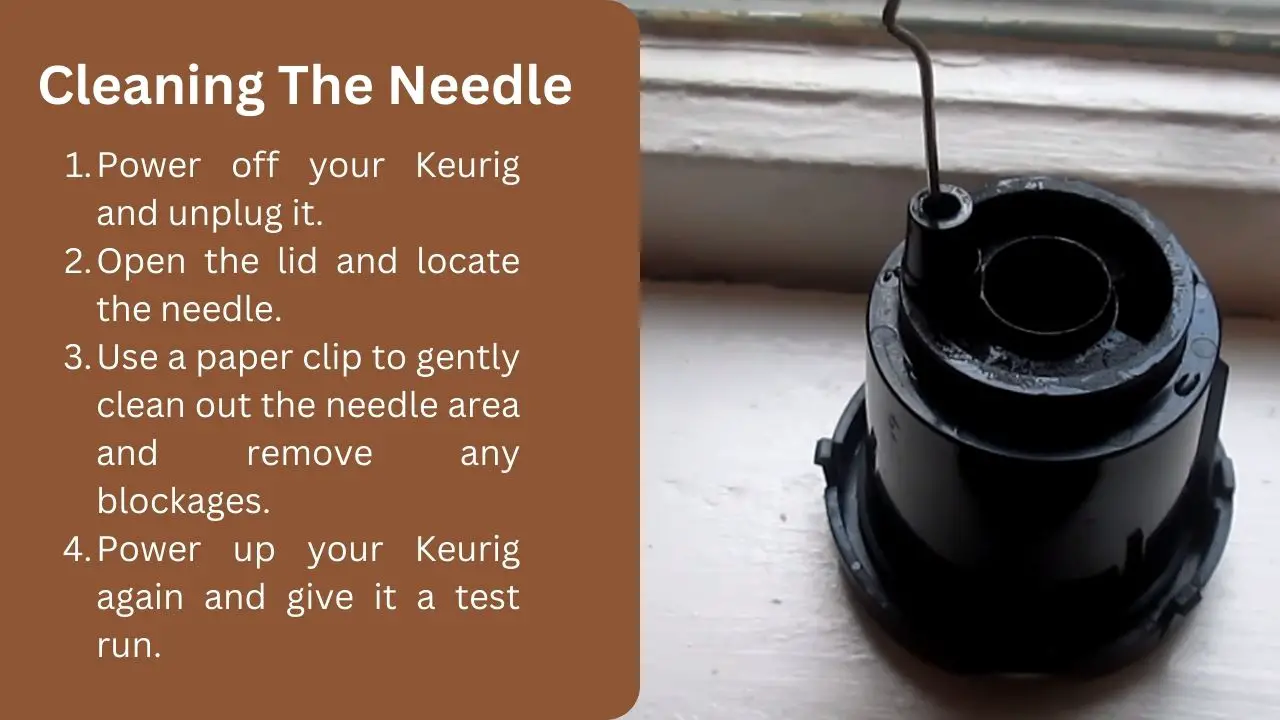
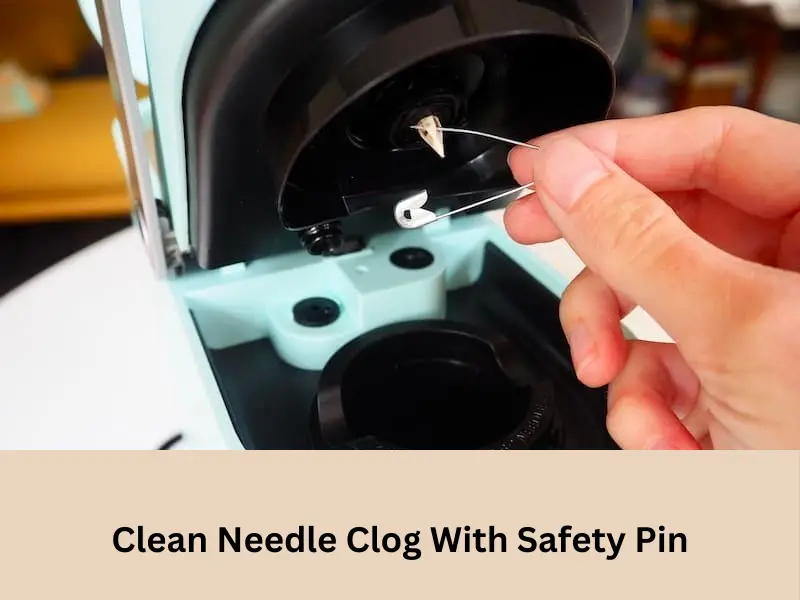
A tiny, narrow instrument is required; a sewing needle, paper clip, or thin pipe cleaner will work well. Make use of it to clear any obstructions and gently clean the needle area. It’s likely that you’ll find some stubborn gunk from dried coffee that has been causing issues.
After cleaning the needle, turn on your Keurig once more and try it out. It will surprise you to see that it is back in operation and pouring coffee at a reasonable pace.
Related: How To Descale The Keurig Coffee Maker
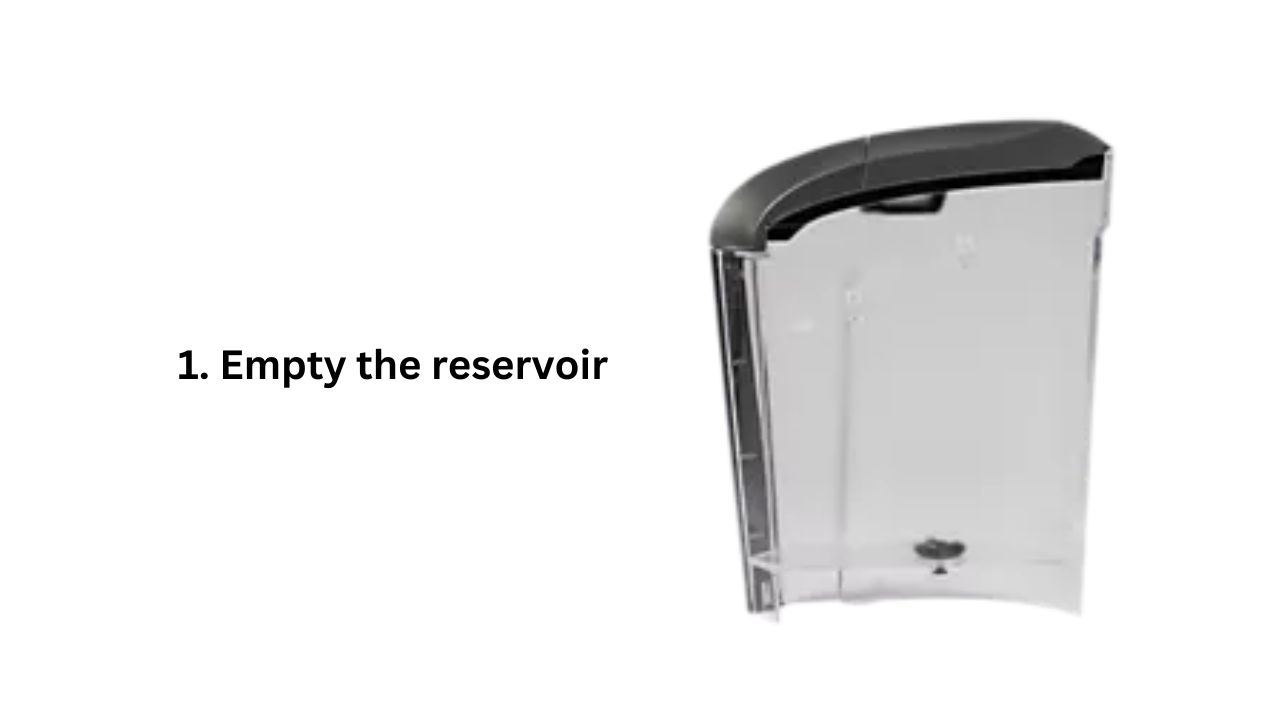
1. Empty that Reservoir:
Start by saying goodbye to any water lingering in the reservoir.
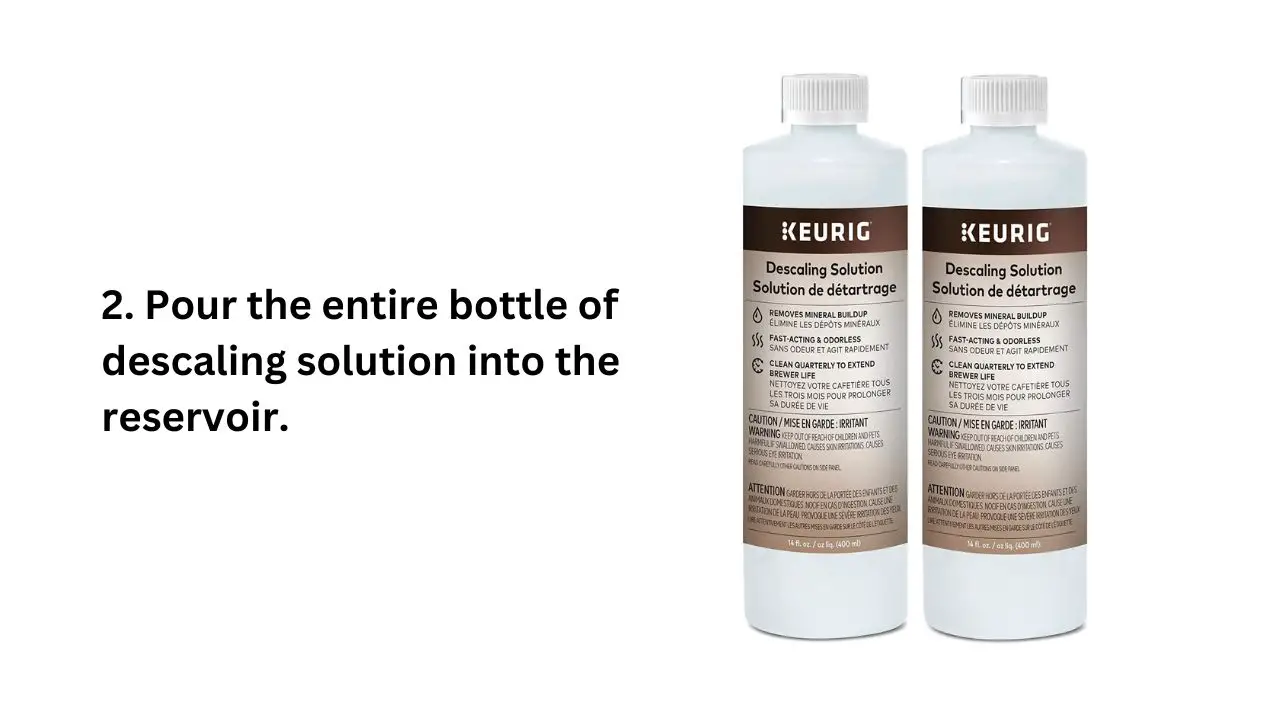
2. Bring in the Descaling Solution:
Grab a descaling solution – it’s designed to tackle those pesky calcium deposits. Pour the entire bottle of descaling solution into the reservoir, and don’t forget to fill the empty bottle with water and add that too.
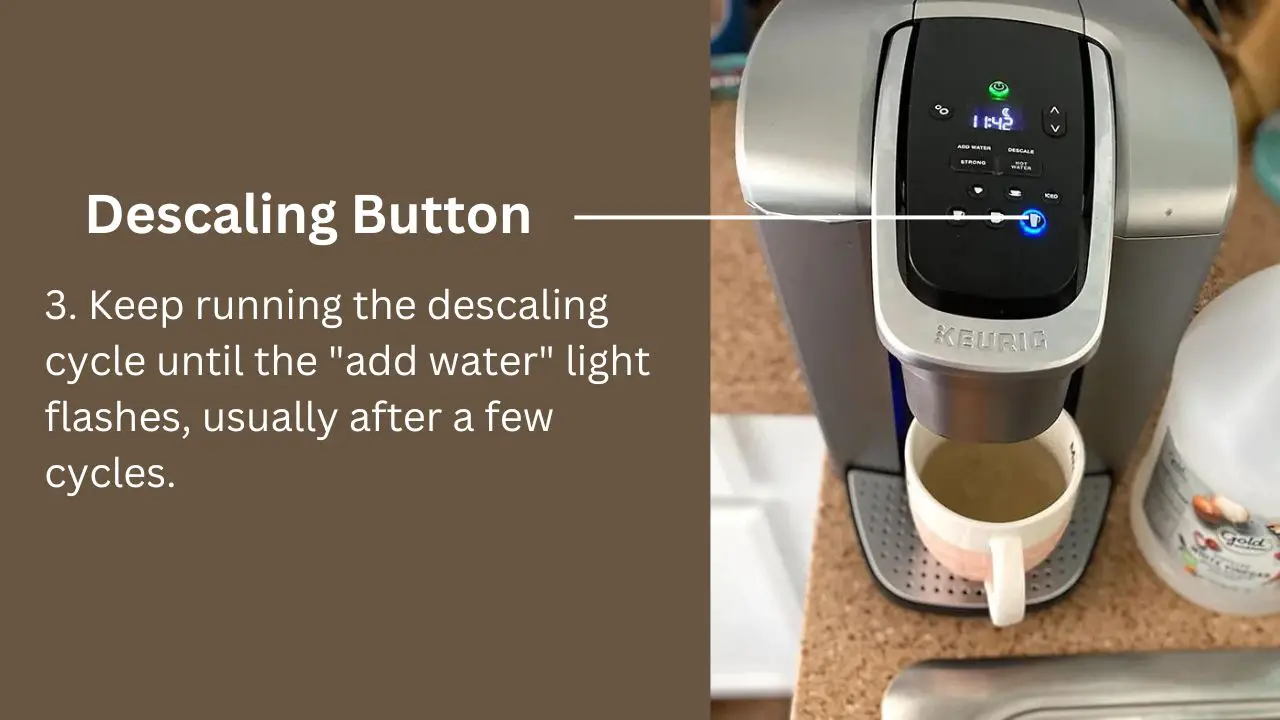
3. Fire Up a Cleaning Brew Cycle:
Most Keurigs have a handy cleaning button that triggers the descaling cycle. Keep running this cycle until the “add water” light flashes, usually after a few cycles.
4. Pause for 30 minutes:
After the cleaning cycle, let your Keurig rest for about 30 minutes.
5. Rinse and Repeat:
Before you trust your Keurig to brew your coffee again, make sure to rinse your Keurig thoroughly. Run 10-12 brew cycles with just water to avoid “Keurig slow coffee flow”, which can mess with the flavor of your coffee post-descale.
Solution 2: Needle Cleansing
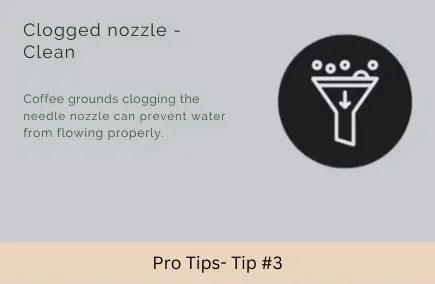
What is a clogged needle?
A clogged needle is one of the most frequent causes of a slow-pouring Keurig. Over time, coffee grounds and other debris may clog the tiny needle that punctures the K-cup to allow the coffee to flow. Fortunately, re-establishing the flow of your Keurig is as simple and efficient as cleaning the needle.
Power Off and Safety First:
Prioritize safety by unplugging your Keurig before diving into troubleshooting for issues like Keurig clogged water lines or Keurig slow dispensing.
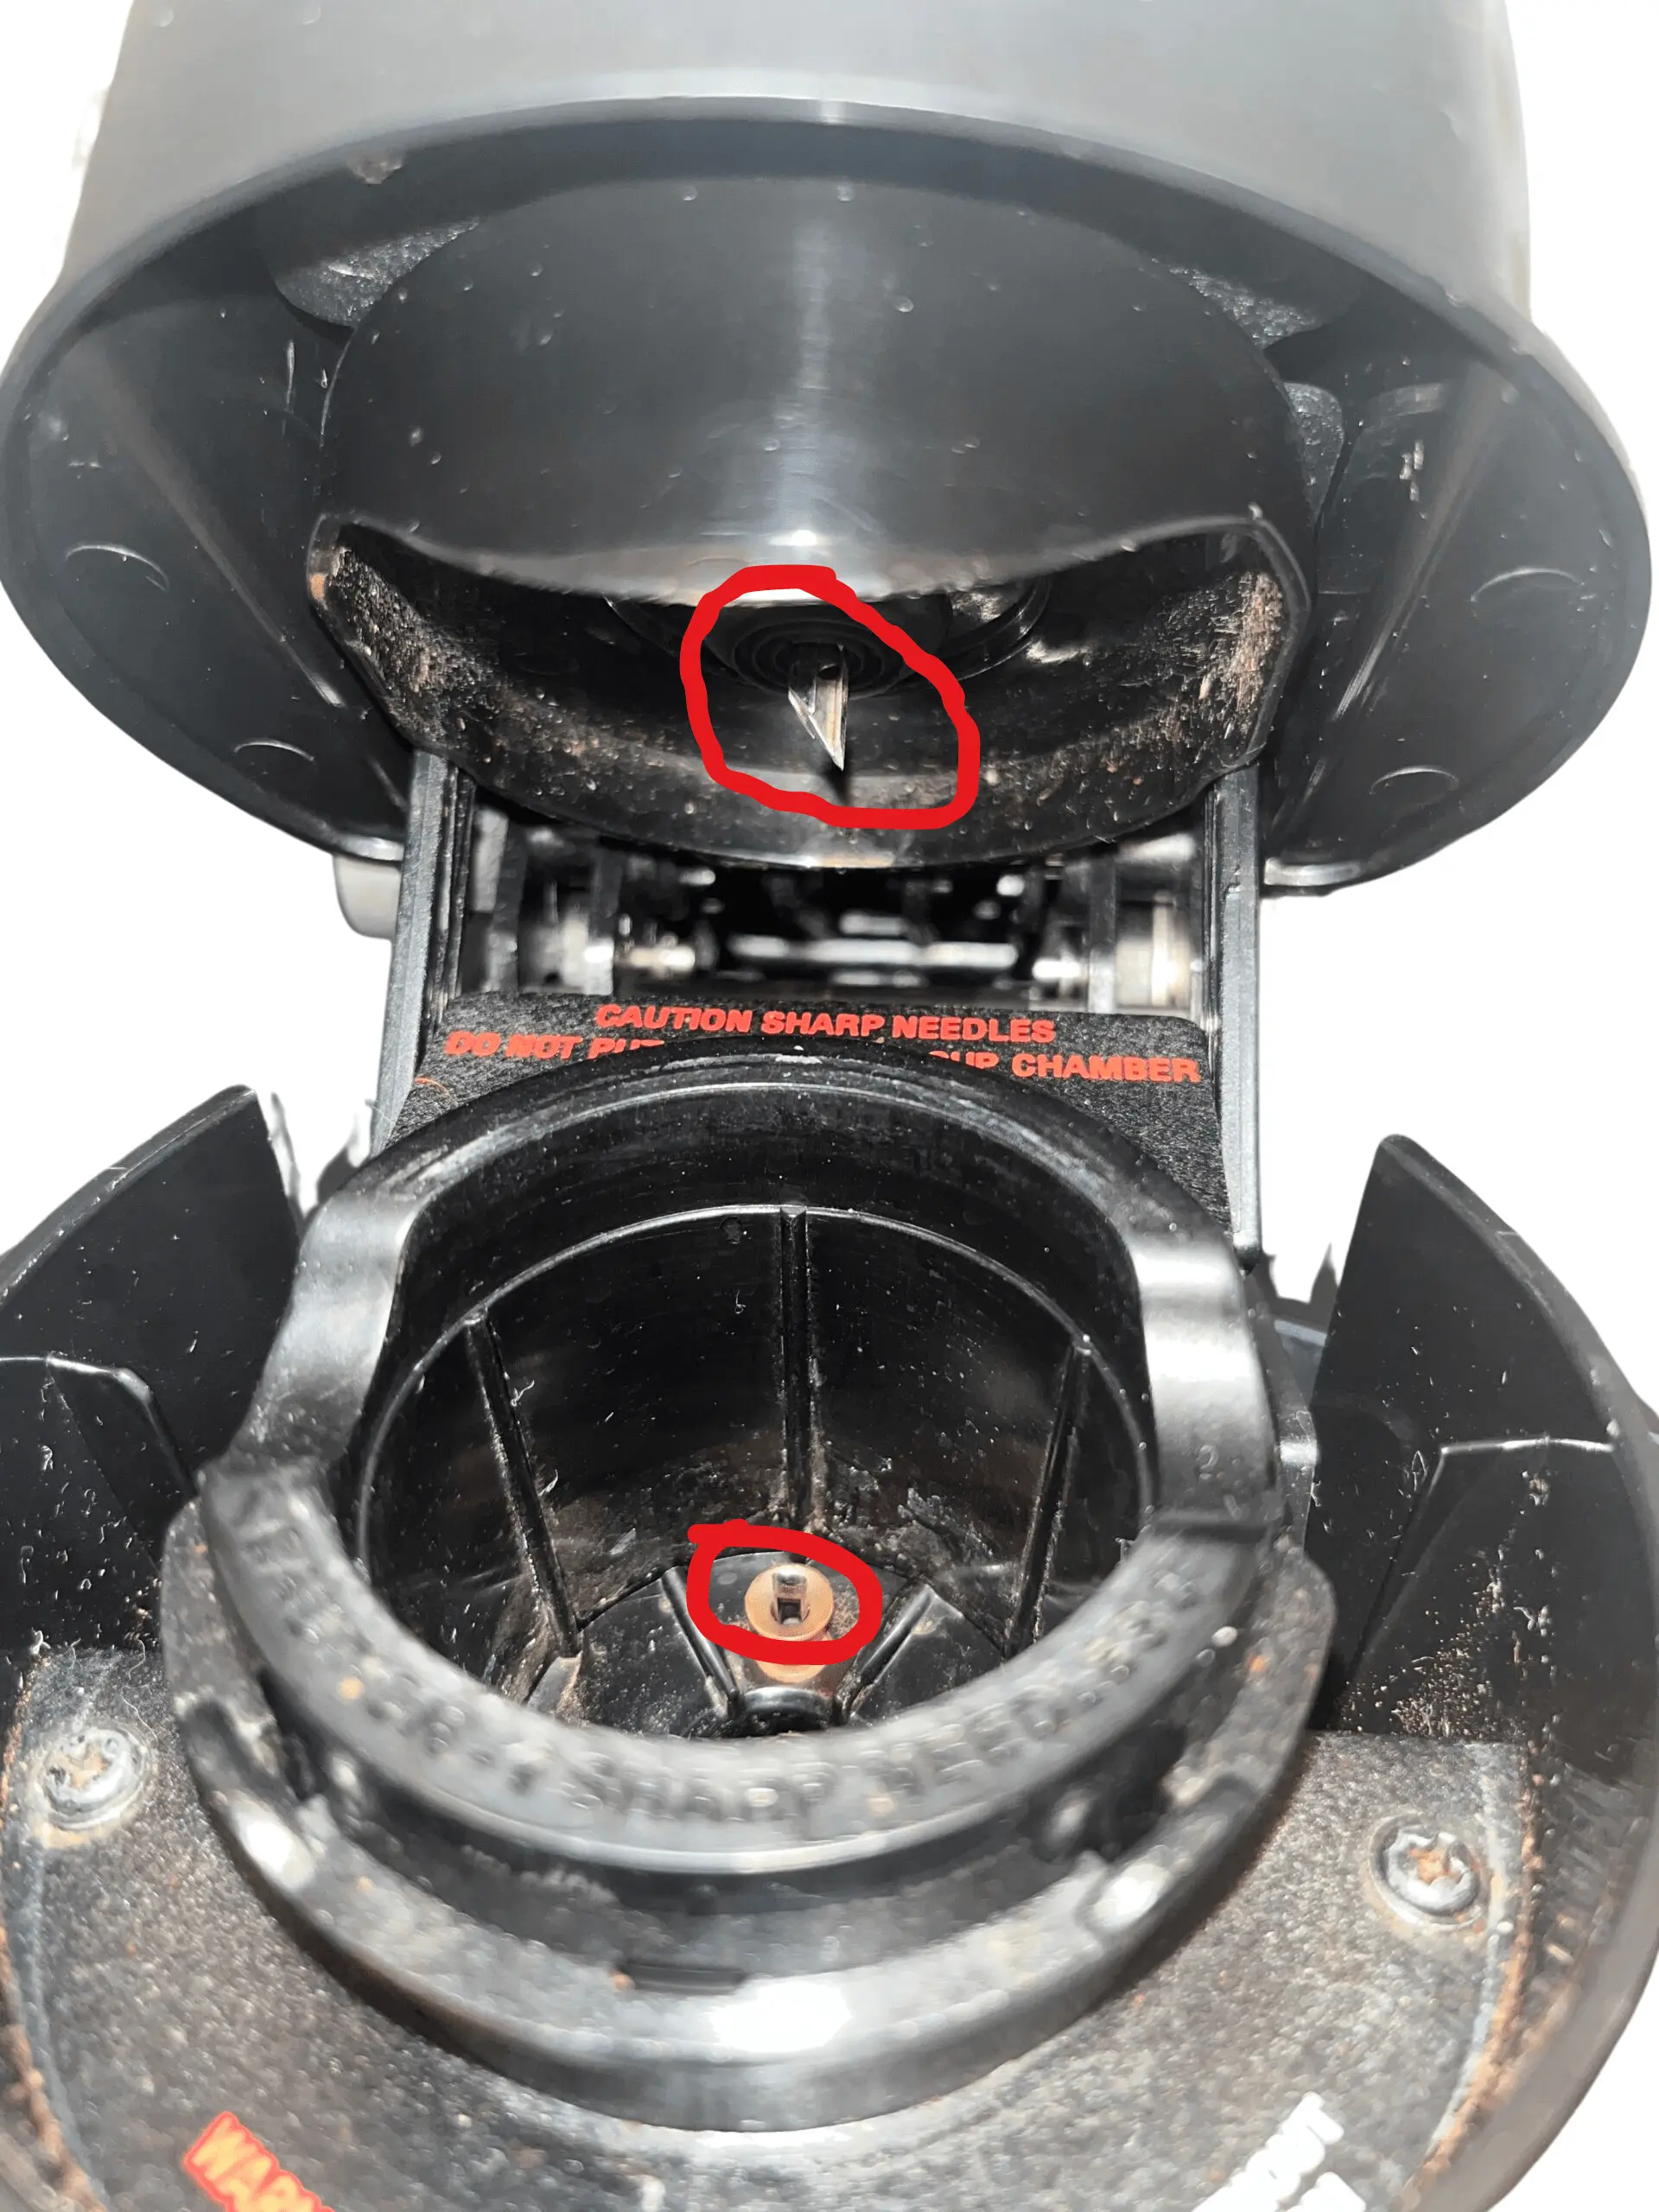
Locate and Clean the Needles:

Identify both the entrance and exit needles, a frequent culprit behind Keurig barely dripping or Keurig half-cup brew. Gently clean each one by one using a safety pin or a paper clip to clear any Keurig needle clog.
Solution 3: Water Filter Replacement
If your Keurig still exhibits signs of Keurig slow brewing or Keurig not dispensing water, it might be time for a Keurig water filter replacement. An aged filter can hinder water flow.
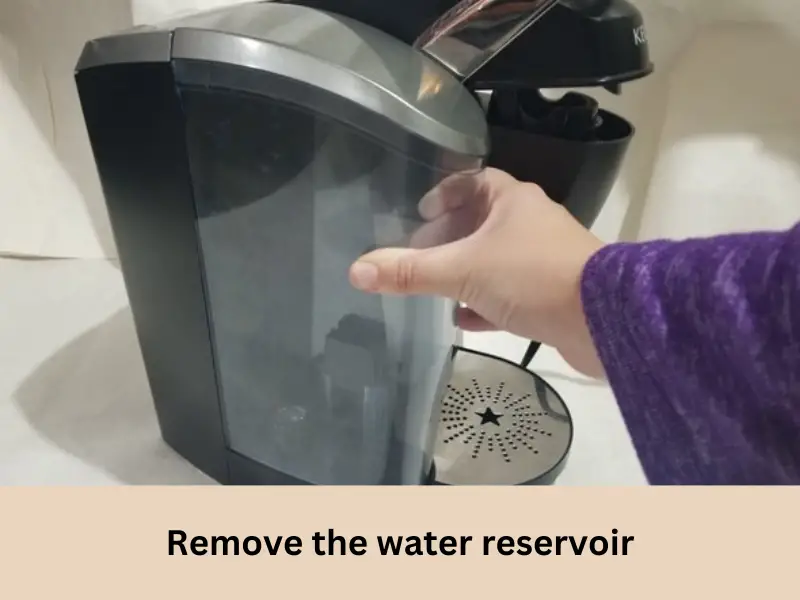
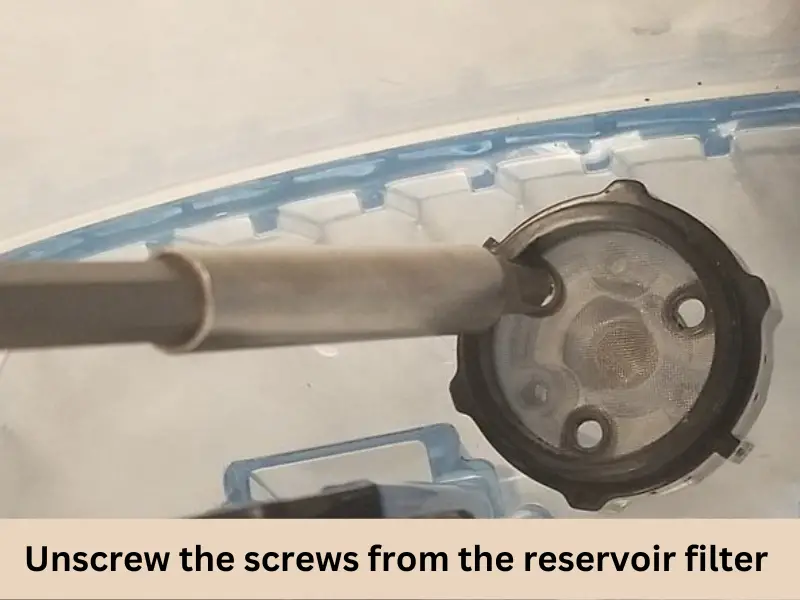
Step 1: Remove the Water Reservoir
Step 2: Unscrew the Water Filter
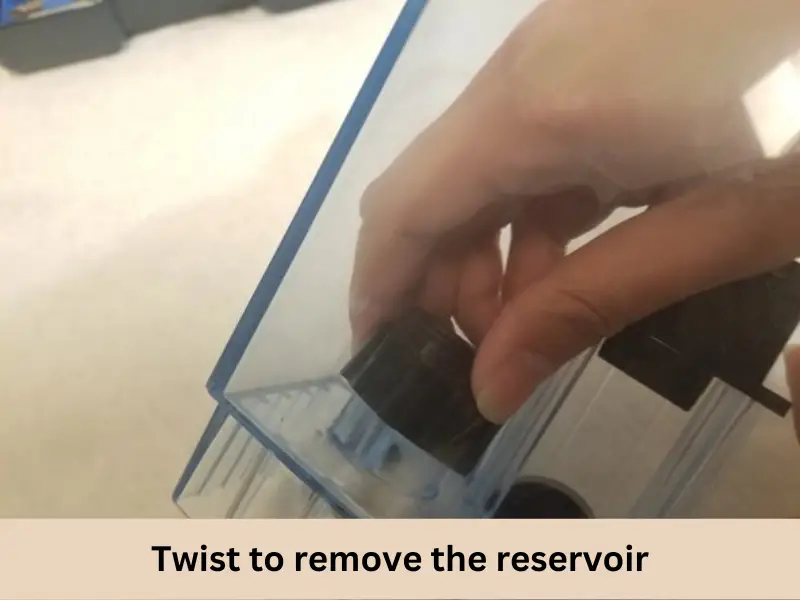
Step 3: Twist to Remove the Water Reservoir
Solution 4: Nozzle and Water Pump Cleaning
To tackle “Keurig slow dispensing,” focus on the water lines. Use the “Keurig nozzle cleaning” steps to unclog and restore efficient water flow.

Solution 5: Reset and Pump Inspection
Resetting Your Keurig:
If the problem persists, consider a Keurig reset process. Sometimes, a simple reset can resolve underlying operational issues.
Inspecting the Water Pump:
If all else fails and “Keurig slow brewing” persists, delve deeper into potential “Keurig water pump issues.” Reach out to customer support if need be.
FAQs for Keurig Slow Drip
How often should I descale my Keurig machine?
Aim for every 3 to 6 months, adapting to your water’s hardness.
What are the signs of a clogged Keurig?
Slow brewing, incomplete water dispensing, or strange noises could signal a clog.
Does using filtered water impact brewing speed?
Yes, filtered water can boost speed by preventing mineral buildup.
How can I unclog the Keurig water lines?
Use the provided steps for the Keurig water line unclog to clear any blockages hindering water flow.
What’s the recommended process for Keurig needle cleaning?
Follow the steps outlined for Keurig needle cleaning to ensure a clear passage for water and prevent slow brewing issues.
Keurig Still Dripping?
If you’ve diligently descaled your Keurig, cleaned the needle area, and followed the mentioned solutions but it’s still playing hard to get, don’t lose hope. It might be time to reach out to Keurig’s customer service.
While Keurigs are designed for hassle-free use, sometimes a replacement part is all it takes to breathe new life into your favorite coffee maker.
Conclusion: Keurig Slow Drip Fixed
A sluggish Keurig can really throw off your morning routine, especially if you rely on that first cup of coffee to kickstart your day. Keeping your Keurig in top shape means being proactive about maintenance and knowing how to troubleshoot common issues.
Dealing with a slow drip from your Keurig often starts with a thorough descaling process using specific solutions and cleansing brew cycles. This helps clear any clogged water lines that might be causing the problem.
Gently cleaning the entrance and exit needle can also work wonders in resolving issues quickly, while replacing the water filter on time is essential for persistent problems. Following the recommended steps to clean the nozzle and needle precisely can also help.
For more stubborn issues, a strategic reset and checking of the water pump might be necessary to get your brewing experience back on track. By following these tips and trying out these solutions, you can transform your Keurig into a reliable companion that consistently brews your favorite cup of coffee, just the way you like it, every single time.
