Last Updated on January 17, 2024 by Timothy Byron Smith
Keurig has revolutionized the way we brew our daily cup of coffee, providing convenience and speed. However, like any electrical appliance, Keurig machines can encounter issues, and one of the frustrating problems users may face is the Keurig won’t stop pumping water even after the brewing process is complete.
This can be fixed by making the required adjustments to the equipment or by getting in touch with the service center. It can be caused by improper settings or lack of maintenance.
From resolving minor glitches to descaling your brewer, we’ll tackle the common causes of Keurig keeps pumping water and provide five simple fixes to get your Keurig brewer back on track.
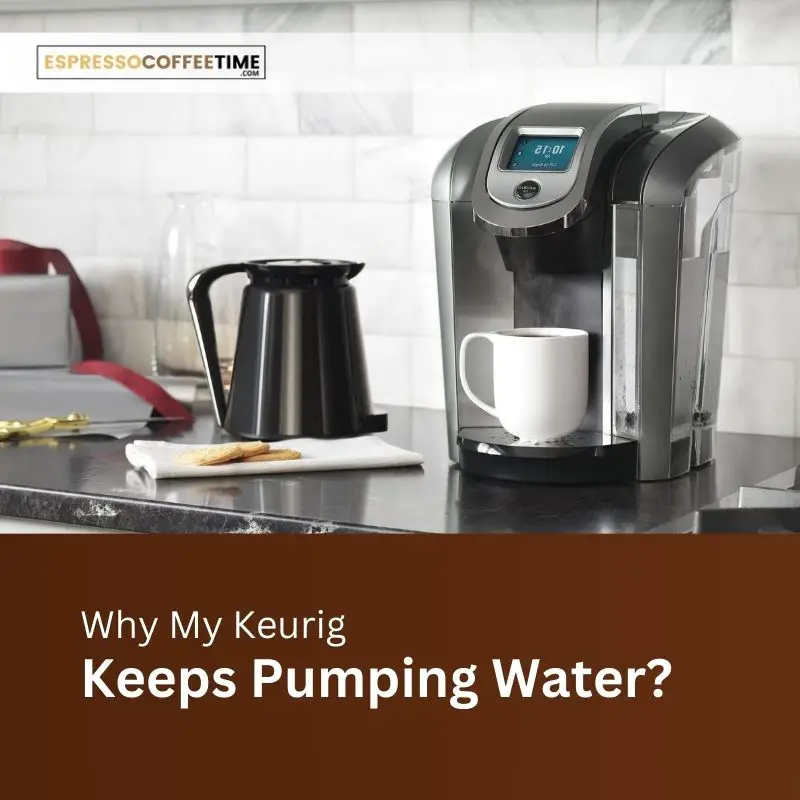
Why Is My Keurig Won’t Stop Pumping Water?
Before diving into solutions, let’s understand why your Keurig might be exhibiting this behavior. The continuous pumping of water is a common problem acknowledged by Keurig’s customer service.
The causes vary, including software glitches, maintenance issues, misplaced reservoir magnets, or physical issues like coffee grounds interfering with the system.
Fixing Keurig Won’t Stop Pumping Water
Discovering your Keurig refusing to pump water can be a morning hurdle, but fear not – there are quick fixes you can try before waving the white flag. From a simple unplug-and-wait strategy to a needle-cleaning routine, these easy solutions are your first aid kit for a misbehaving Keurig.
Let’s explore these straightforward fixes and get your coffee flow back on track in no time.
1. Unplug the Keurig and let it sit:
- Turn off and unplug the Keurig.
- Allow it to sit for 10-15 minutes, then plug it back in.
- This simple action can often reset the machine and resolve minor software glitches.
2. Clean the needle:
- Open the brew head and inspect the needle for coffee grounds or debris.
- Use Keurig’s brewer maintenance accessory tool or a safety pin to clean the needle.
- A clogged needle can disrupt the brewing process, leading to continuous pumping.
3. Descale the brewer:
- Descaling is crucial to address mineral buildup in the machine.
- Pour descaling solution or a mixture of white vinegar and water into the reservoir.
- Brew until empty, then rinse with filtered water to remove any remaining chemicals.
4. Turn the machine upside down:
- Turn off and unplug the Keurig.
- Remove the water reservoir, turn the brewer upside down, tap the bottom, shake it, then turn it right side up and plug it in.
- This can help dislodge any stuck particles that may be causing the pumping issue.
5. Call in a professional:
- If all else fails, contact Keurig’s customer service online or by phone for expert assistance.
- Professional support can provide insights into more complex issues that simple fixes might not address.
6. Check valve malfunction:
- Keurig machines normally contain a check valve, also known as a one-way valve, to regulate the water flow.
- Water may flow through this valve even when the machine is unplugged if it malfunctions or gets clogged.
Note: After fixing your Keurig won’t stop pumping water issues, if you encounter a persistent descale light problem. Learn how to reset it in our blog for a flawless brewing experience.
Immediate Actions if Keurig Won’t Stop Pumping Water?
In case you find your Keurig continuously pumping water after brewing, there are immediate actions you can take:
- Unplug the Keurig and let it cool down for a few minutes.
- Clean and unclog the needle to ensure proper water flow.
- Run a water cycle and check for any particles that might be causing the issue.
- Descaling the brewer can also be an effective solution to address calcium and magnesium deposits.
What To Do If This Issue Still Persists
If troubleshooting doesn’t resolve Keurig won’t stop pumping water problem, consider the following options:
Contact Customer Service
If the problem persists despite the simple fixes, reaching out to Keurig’s customer service is a wise step. You can call them at 1-866-901-2739, visit support.keurig.com for online support, or email customer service via their contacts page. After contacting them, submit a support ticket for troubleshooting advice or consider a return if necessary.
Claim Warranty
If your Keurig is still under warranty, consider claiming it for professional assistance. Warranties typically cover manufacturing defects and malfunctions, ensuring that you don’t incur additional costs for repairs or replacements.
Conclusion
In conclusion, dealing with Keurig Won’t Stop Pumping Water issue can be frustrating, but there are simple fixes to try before seeking professional help. By following the troubleshooting tips provided and taking immediate action when the issue occurs, you can often resolve the problem and enjoy your favorite beverages hassle-free.
Remember, regular maintenance, including descaling and ensuring proper component fitting, is key to preventing such issues in the future.
If all else fails, Keurig’s customer service is there to provide expert assistance, ensuring you can continue to savor your daily brew without interruptions.