Last Updated on June 24, 2023 by Timothy Byron Smith
Resetting your Keurig can solve a range of problems and restore its functionality. Whether you own a Keurig 1.0, 2.0, or any other model, this guide will provide you with simple and effective steps on how to reset Keurig coffee makers.
Sometimes a Keurig coffee maker may encounter issues that require a reset to resolve. Whether it’s a power outage, a frozen screen, or incomplete brew cycles, resetting the device can often solve these problems.
By following these steps, you can get your Keurig back to brewing delicious cups of coffee in no time.

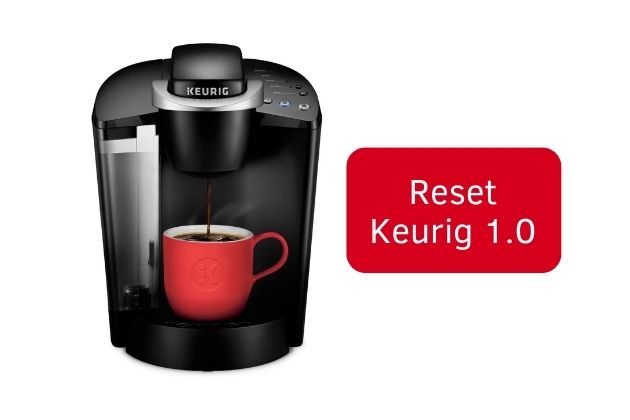
Resetting Keurig 1.0 Models
If you own a Keurig 1.0 model and are experiencing issues, here are the steps to reset it:
- Open and close the lever: If the brew cycle was interrupted or the machine seems unresponsive, the first step is to open and close the K-Cup lever. This action helps reset the Keurig, preparing it for brewing again.
- Turn off and unplug: If the brew cycle is not the issue, the next step is to turn off the Keurig machine and unplug it from the wall. By disconnecting the power source, you give the machine a chance to reset itself. Let it rest for an hour or two.
- Detach the water reservoir: If the water tank is removable, take it off and allow the machine to sit for an additional half an hour. This step helps to release any residual pressure or trapped air within the system.
- Reattach the tank and plug in the machine: After the recommended resting time has passed, reattach the water reservoir to the Keurig machine. Ensure it is securely in place. Then, plug the machine back into the power source. Finally, press the start button. Your Keurig should now be reset and ready to brew your favorite coffee.
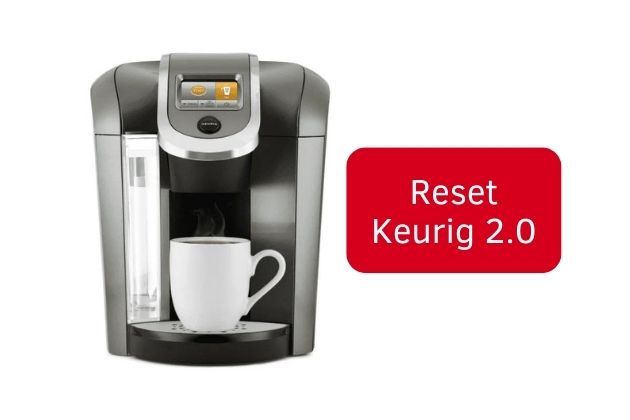
Resetting Keurig 2.0
Keurig 2.0 models have more complex computers and displays, which may require additional steps for a full reset.

Here are three troubleshooting options to reset your Keurig 2.0:
- Check your settings: If your Keurig has a digital display, it is essential to review the menu settings. Reset any options that seem incorrect or misconfigured. For instance, if your brewer is turning off randomly, ensure that energy-saving and auto-off features are disabled.
- Get rid of air bubbles: Air bubbles in the tubes can disrupt the water flow and affect the brewing process. To resolve this issue, turn off and unplug the Keurig machine. If possible, remove the water tank. Hold the brewer upside down over a sink and firmly hit it on the side a few times. This action helps dislodge any air bubbles trapped within the system.
- Reset the display: In case the display is blank or malfunctioning, you can attempt to reset it. Start by unplugging the brewer and waiting for a minute. Then, plug it back in. Turn on the brewer and open the menu on the display. Set the clock and adjust other settings as desired. Once done, return to the “Lift to Begin” screen and raise and lower the brewer lever. This process should reset the display and restore normal functionality.
Other Keurig Models Resetting Guide
Keurig offers a range of coffee makers to suit different preferences and needs. If you own a Keurig model other than the ones mentioned earlier, fret not!
Now, we will provide you with simple resetting methods for three additional Keurig models, namely the Keurig K-Elite, Keurig K-Slim, and Keurig K-Select. By following these instructions, you can quickly reset your Keurig and get back to enjoying your favorite brews.
1. Keurig K-Duo and K-Duo Essentials
To reset a Keurig K-Duo or K-Duo Essentials, follow these steps:
- Press the power button.
- Press and hold the 8-ounce and 10-ounce buttons simultaneously for 5 seconds.
3. Keurig Compact
To reset a Keurig Compact, follow these steps:
- Open and close the lid.
- Press and hold the power button.
- Press the smallest button, then the medium button, and finally the largest button in that order.
- If needed, repeat the previous step.
- Open and close the lid again.
- Press any size button to use the machine.
4. Keurig K-Classic
To reset a Keurig K-Classic, follow these steps:
- Press and hold the medium cup, large cup, and auto-shutoff buttons simultaneously for about 10 seconds.
- Release the buttons at the same time.
5. Keurig Mini
To reset a Keurig Mini, follow these steps:
- Open and close the K-Cup Lever to reset interrupted brewing.
- If that doesn’t work, turn off and unplug the machine, let it sit for a few minutes, then plug it back in.
- Turn on the machine and press and hold the brew button for three seconds.
- When the add water light blinks, the machine is reset and ready for use.
6. Keurig K Supreme
To reset a Keurig K Supreme, follow these steps:
- Press any button to turn on the brewer.
- Simultaneously hold down the buttons with an arrow on them to enter the setup menu.
- Click next, then navigate through the menu options until you find ‘Factory Reset.’
- Press the K button to confirm the factory reset.
- After the reset, unplug the machine for ten seconds and plug it back in.
Troubleshooting How to Reset Keurig Issues
In case the reset process doesn’t work, here are some troubleshooting tips:
- Try draining and cleaning the Keurig, as residue or mineral buildup can cause issues.
- Contact Keurig support for further assistance if the problem persists.
Remember, regular descaling is recommended to keep your Keurig coffee maker in good condition and ensure optimal performance.
Final Thoughts
Resetting your Keurig coffee maker can often resolve common issues and restore its brewing performance. If you encounter persistent problems, it may be necessary to descale or prime the machine. These maintenance tasks can help optimize Keurig’s performance and prevent future issues.
In the event that the troubleshooting steps mentioned above do not resolve the problem, it is advisable to contact Keurig’s customer service or check the warranty status of your Keurig coffee maker.

